Ezstep STAINLESS STEEL – Foot Door Opener
$19.95 – $25.90
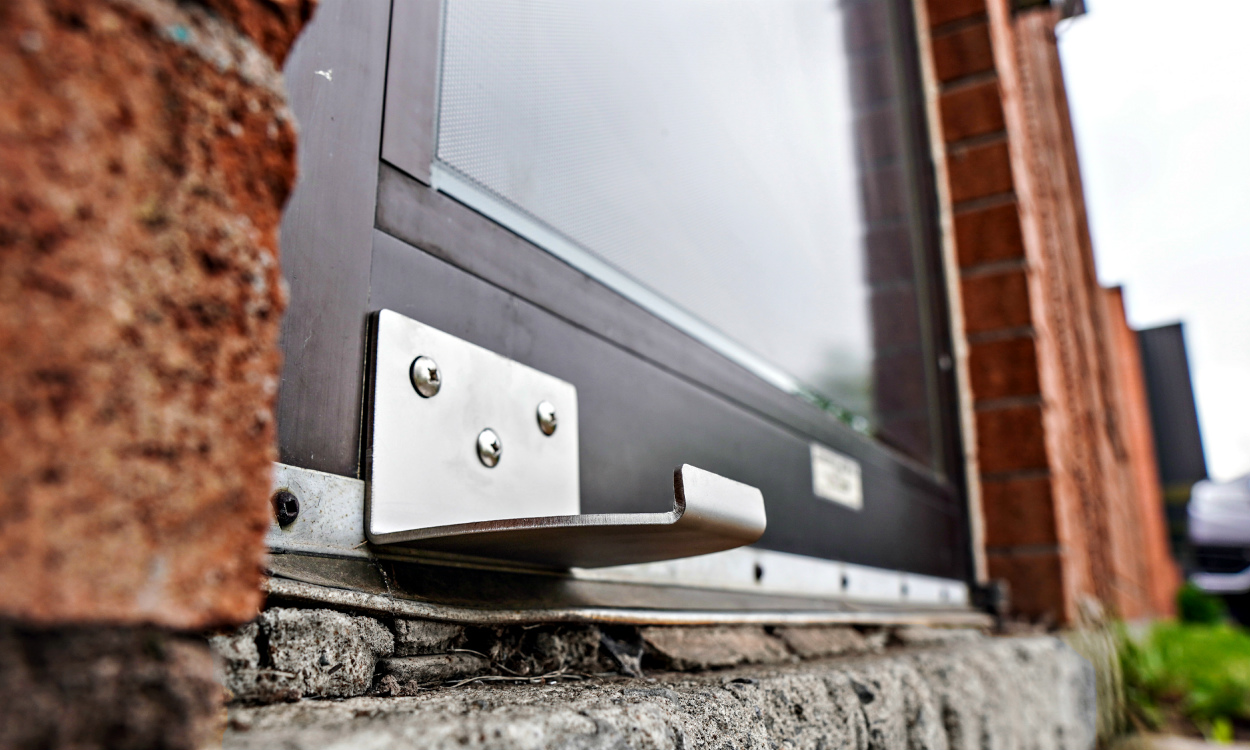
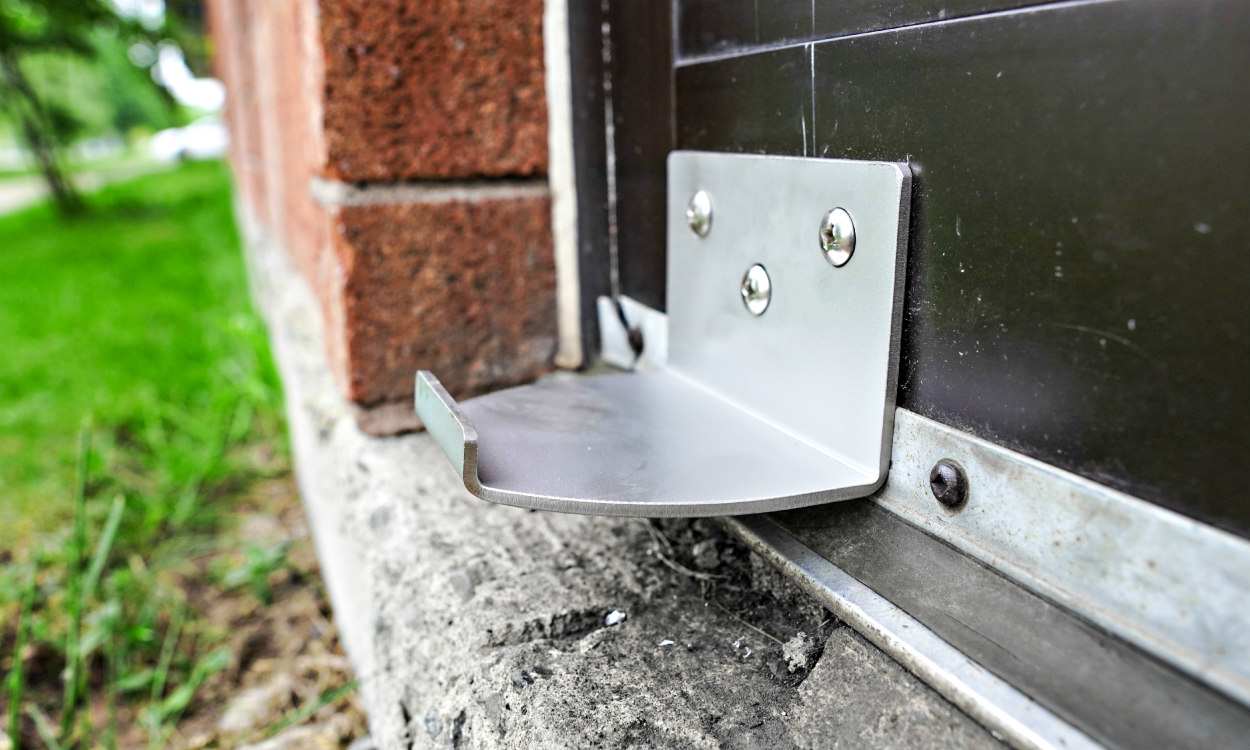
Foot door opener made of stainless steel. Sturdy and durable, it allows an easy access to shops, facilities and buildings.
Made in Canada
Optionally, choose the type of fixation according to your door. For installation instructions, click here: Ezstep Installation
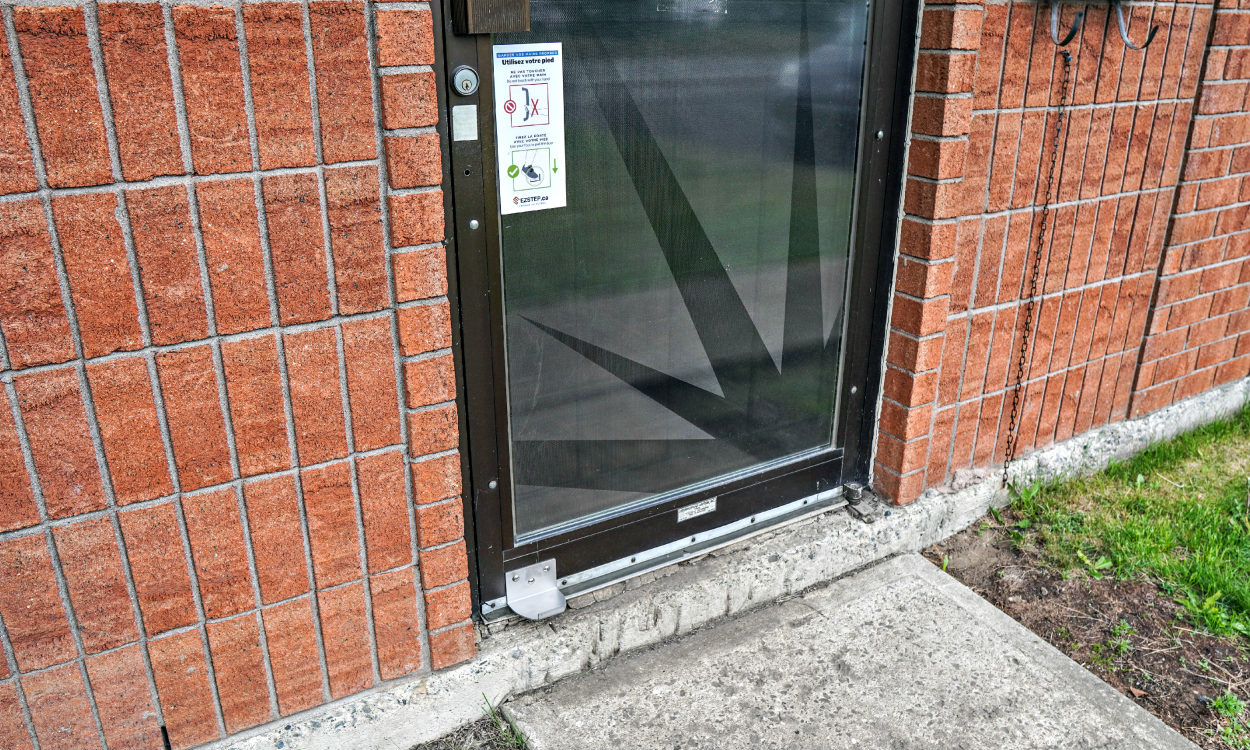
A window sticker is optional to encourage the use of opening the door with the foot.
11 Ga stainless steel structure with rounded corners for a solid and secure installation.
Glass ball finished and passivated.
Made in Canada
Additional information
| Weight | 0.39 kg |
|---|---|
| Dimensions | 12.7 × 12.7 × 12.7 cm |
| Mounting (option) | Ezstep STAINLESS STEEL, Ezstep STAINLESS STEEL+metal screws, Ezstep STAINLESS STEEL+3M adhesive and metal screws, Ezstep STAINLESS STEEL+bolts and nuts |
| Window decal (option) | No Sticker, Sticker |
Installation of the Stainless Steel Ezstep – Suggestions and recommendations
It is recommended to install the stainless steel Ezstep on an interior door. Depending on the use, salt and abrasion could tarnish and corrode stainless steel, precautions should be taken. For a more abuse-resistant version of the Ezstep and for outdoor use, see this product: Ezstep in LINE-X.
Install the Ezstep in the lower corner opposite the hinges of your door. Make sure to leave sufficient clearance between the Ezstep and the ground (minimum 0.25 in / 6.35 mm).
Metal door
For metal doors, we suggest the option of fixing 3M adhesive + Metal screws (maximum durability) or Metal screws only
Installation steps:
- Clean the door surface where the Ezstep will be installed using rubbing alcohol (Isopropanol 70%) and make sure the surface is clean and dry.
- Remove the protective films from the adhesive and position the Ezstep on the previously cleaned surface of the door.
- Drill a pilot hole to allow the alignment of a metal screw in one of the fixing holes.
- Align the metal screw with the pilot hole and tighten the screw in place
- Repeat steps 3 and 4 to drill and install the other two metal screws.
** Note: The adhesive will reach its maximum adhesion performance after 24 h at room temperature. Wait for this hardening time before applying forces to the Ezstep. For an application below room temperature, it is possible to heat the surface in order to accelerate the curing of the adhesive.
** The screws provided are # 12 x 1 inch long flat head metal screws
Wooden door
Installation steps:
- Position the Ezstep at the desired location and mark with a marker or pencil the location of the holes.
- Using a drill and a 1/4 ” drill bit, drill a first edge hole at the edge of the door. Make sure to drill at level. If necessary, pre-drill with a smaller diameter forest.
- Position the Ezstep in place and insert a screw into the drilled hole. On the back of the door place a washer and nut and lightly tighten the nut so as to hold the foot handle in place.
- Repeat steps 2 and 3 to drill and install the other two screws, washers and nuts.
- Tighten the nuts in place. Apply Loctite adhesive to the fillets of the screw before tightening if necessary.
** The supplied screws are 1/4-20 x 2 inch long flat head stainless steel screws


